Art Demo - white chicken in watercolour

Finally! Walked dog, done washing, cleaned kitchen and had lunch. What a marathon. Now I can sit down to paint.
Here is my earlier post about a white chicken’s head that I painted in watercolour.

https://eastwitching.com/2013/02/16/i-will-paint-a-white-chicken-if-it-kills-me/

This is how she has ended up - very early days yet - watch this space

This is how she has ended up - very early days yet - watch this space

Today I am starting afresh with a new chicken and am going to have a bash at painting her. I am pleased with the drawing which took me ages as I had trouble getting her pose just right. I really wanted to show her angle compared to the ground which is what appeals to me about her as she pecks for food.

Here are my basic steps so far.

Here are my basic steps so far.

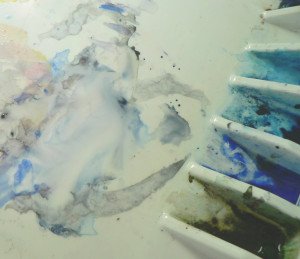
But before I start - a quick clean up job on my trusty Frank Webb palette is needed. If you use tube paint I cannot recommend this palette enough.
I’ve had mine for over 20 years! Come back for more progress on this hen when you have a mo!

Close up of early washes on hens face

Close up of early washes on hens face
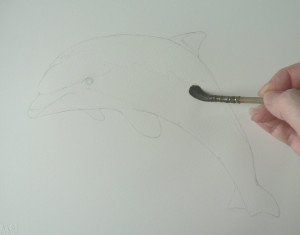
Dolphin Watercolor Demo - 12 step painting

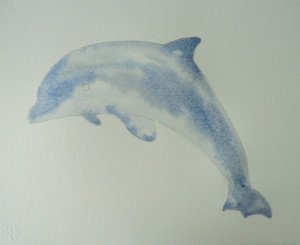
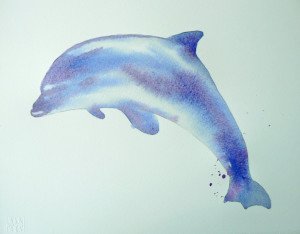
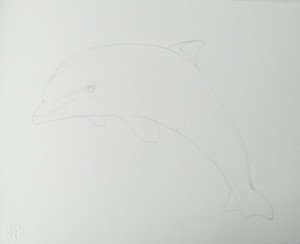
OK - Brushes out! Follow along if you fancy paining this fresh dolphin.

I used Saunders Waterford 140lb Hot Pressed High White paper (available from Ken Bromley Art Supplies, UK) for lovely sparkle and Winsor & Newton tube watercolour paints.

Colours are French Ultramarine, Windsor Violet, Cerulean Blue, Antwerp Blue and Burnt Umber. Brush sizes 6 and 3 round.

1) I wet the entire inside of the dolphin drawing with clean water and let it soak in a bit.

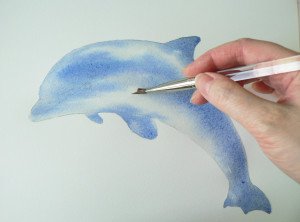
2)Then while still moist I added loose washes of Cerulean, Ultramarine and antwerp to create the main tonal areas.


3)Adding stronger washes of the same colours as before I defined the body further.

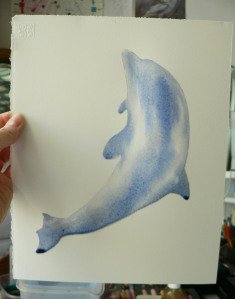
4)In order to get the washes to run and suggest the sleek sides of the dolphin I held the painting vertical and let the paint do its stuff! - creating a lovely granulated effect free from brushstrokes!

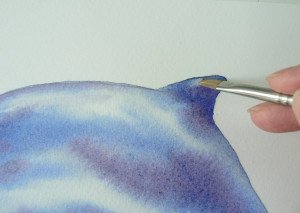
5) To lift out highlights on the fin, tail and body I used a damp brush with water squeezed out so it would soak up pigment leaving a soft white mark suggesting sunstruck spots on the dolphin. This lift is a useful trick and looks quite natural.

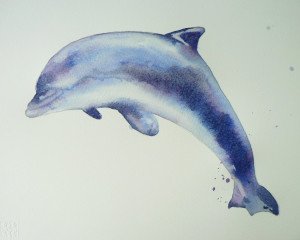
6) Finally I added the eye and darkened a few accents here and there for punch but did not want it to be too slick and perfect! I always like to add some spatter for another dimension so there it is - my final flourish for a leaping dolphin.

Discover my dolphin prints here on my Etsy gallery